Mother’s Day Pink Velvet Cake
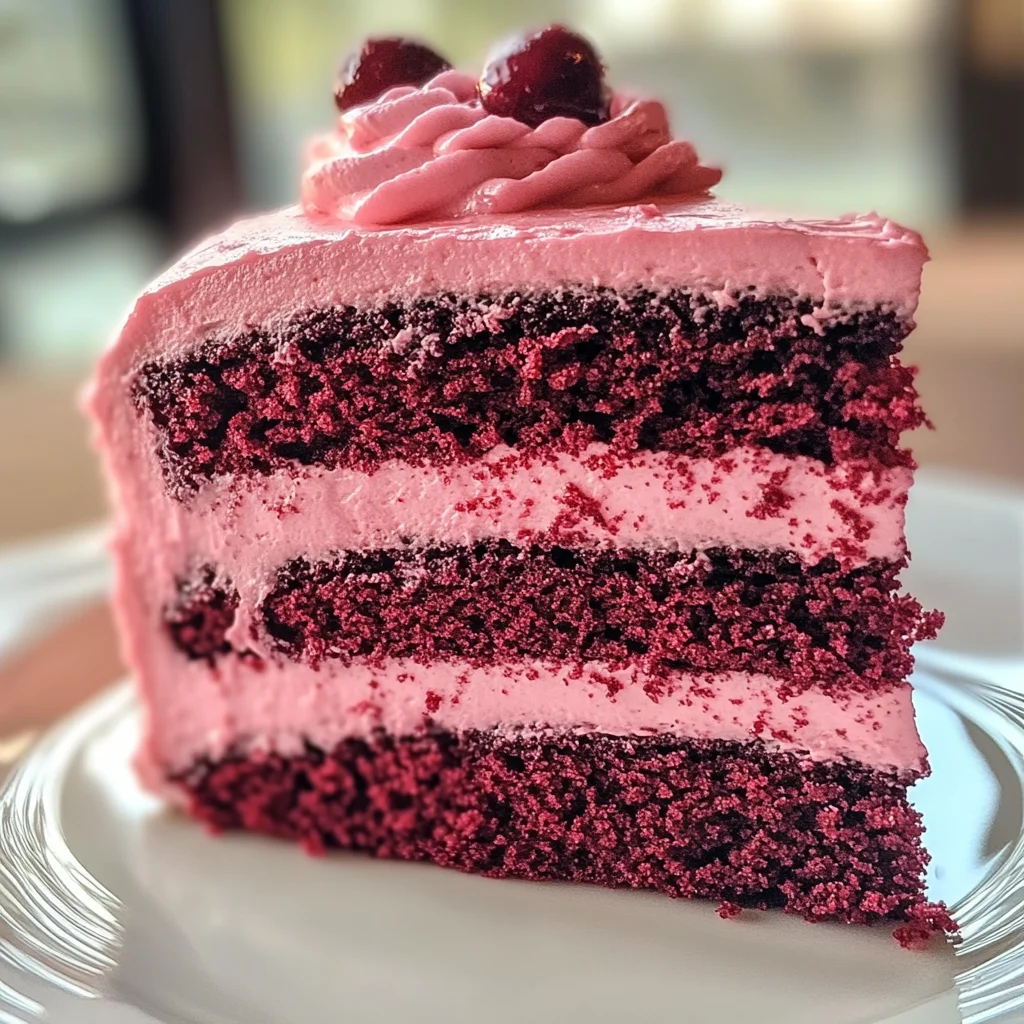
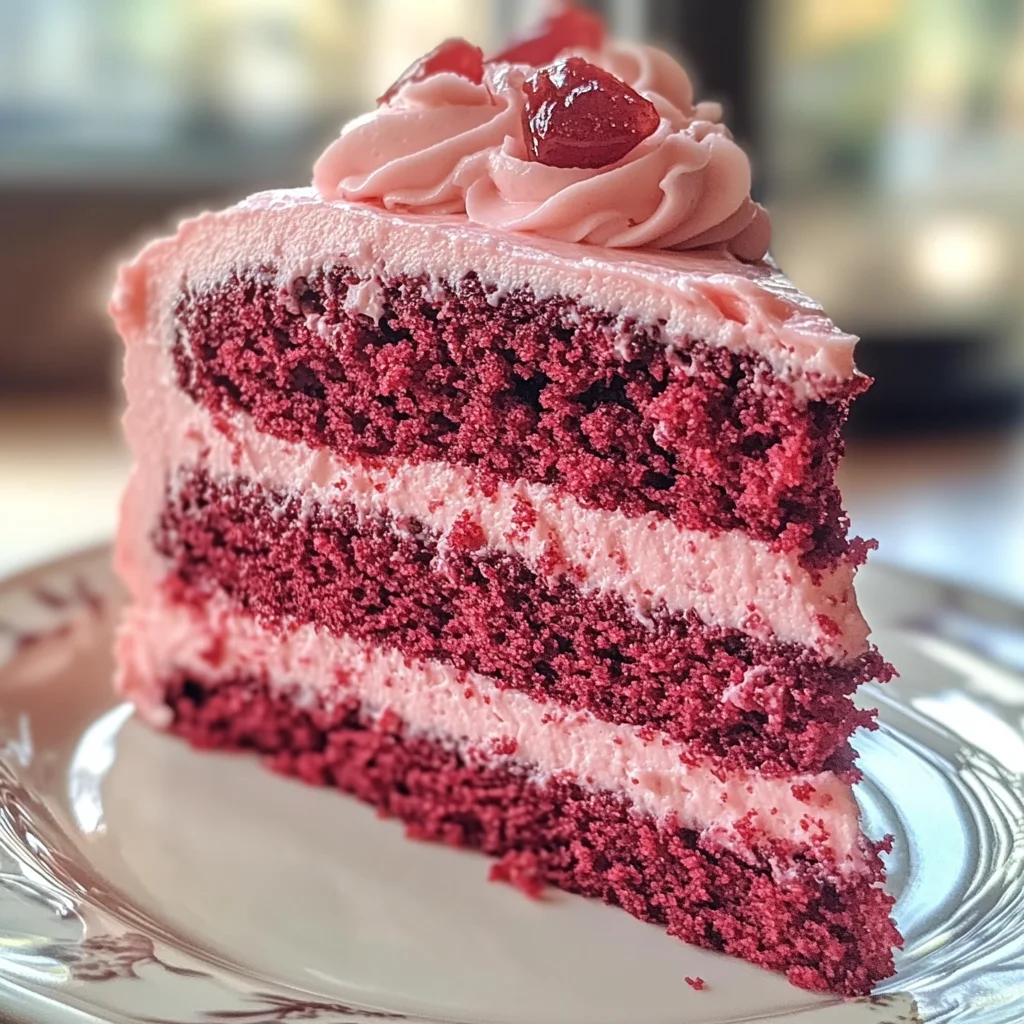
If you’re looking for a delightful way to show love and appreciation this Mother’s Day, I have just the recipe for you: Mother’s Day Pink Velvet Cake! This enchanting cake combines the elegance of pink velvet with the rich flavors of cocoa and vanilla. It’s a treat that not only looks beautiful but also tastes absolutely divine. Whether you’re celebrating Mom or simply gathering with loved ones, this cake will surely bring smiles and sweet memories.
The best part? This cake is perfect for any occasion, from busy weeknights to festive gatherings. Its soft, fluffy layers create a comforting yet sophisticated dessert that everyone will adore. Let’s dive into this lovely recipe together!
Why You’ll Love This Recipe
- Easy to Make: With simple steps and straightforward ingredients, this cake comes together effortlessly, even if you’re new to baking.
- Kid-Friendly Fun: Involve your little ones in the kitchen! They’ll enjoy mixing colors and decorating the cake.
- Versatile Delight: Perfect for any celebration—birthdays, anniversaries, or just because!
- Make-Ahead Option: Bake it a day in advance and frost it when you’re ready to serve for added convenience.
- Delicious Flavor: The combination of cocoa and vanilla creates a taste sensation that will leave everyone asking for seconds!
Ingredients You’ll Need
Gathering the ingredients for this Mother’s Day Pink Velvet Cake is a breeze! You’ll find these simple, wholesome items in most kitchens. Let’s get started on making something magical!
For the Cake
- 2 ½ cups cake flour
- 1 ¾ cups granulated sugar
- ½ cup unsweetened cocoa powder
- 1 tbsp baking powder
- ½ tsp salt
- ¾ cup unsalted butter, softened
- 4 large eggs (room temperature)
- 1 cup buttermilk
- 2 tsp pure vanilla extract
- Red food coloring (to achieve desired pink hue)
For the Frosting
- Cream cheese frosting (for topping)
Variations
This recipe is wonderfully flexible! Feel free to get creative with these variations:
- Swap the Buttermilk: Use yogurt instead of buttermilk for a tangy twist.
- Add Almond Extract: A splash of almond extract can elevate the flavor profile beautifully.
- Fresh Fruit Toppings: Top your cake with berries or sliced fruit for a refreshing contrast.
- Different Colors: Swap red food coloring with another color for different occasions—think pastel shades for spring!
How to Make Mother’s Day Pink Velvet Cake
Step 1: Preheat Your Oven
Start by preheating your oven to 350°F (175°C). This ensures your cake bakes evenly right from the start. While that’s heating up, grease and flour two 9-inch round cake pans so your cakes release easily once baked.
Step 2: Combine Dry Ingredients
In a bowl, whisk together the cake flour, cocoa powder, baking powder, and salt until well mixed. This step is vital as it evenly distributes all the leavening agents throughout your flour.
Step 3: Cream Butter and Sugar
In a separate bowl, cream together the softened butter and granulated sugar until light and fluffy—about three minutes should do it. This process incorporates air into the mixture, helping your cake rise beautifully.
Step 4: Add Eggs One by One
Beat in each egg one at a time, making sure each one is fully integrated before adding the next. This helps create a smooth batter essential for that tender texture we love!
Step 5: Mix in Buttermilk and Vanilla
Now it’s time to add in the buttermilk, vanilla extract, and red food coloring. Mix until everything is combined; don’t worry if it looks a bit thick—that’s just what we want!
Step 6: Combine Wet and Dry Ingredients
Gradually fold in your dry ingredient mixture until everything is smooth. Be gentle here; overmixing can lead to a denser cake than we desire.
Step 7: Bake It Up!
Divide your batter evenly between the prepared pans. Bake them in your preheated oven for about 25-30 minutes or until a toothpick inserted into the center comes out clean. Your kitchen will soon be filled with an irresistible aroma!
Step 8: Cool Down
Once baked, let the cakes cool in their pans for about ten minutes before transferring them to wire racks. This cooling period allows them to firm up slightly so they don’t crumble when you frost them.
Step 9: Frost Away!
After your cakes have cooled completely, it’s time to frost with that luscious cream cheese frosting! Spread an even layer on top of one layer before placing the second layer on top. Finish by frosting around the sides and top as desired.
Now you’ve made an unforgettable Mother’s Day Pink Velvet Cake! Serve it up at your next gathering and watch everyone fall in love at first bite!
Pro Tips for Making Mother’s Day Pink Velvet Cake
Baking this delightful Pink Velvet Cake can be an enjoyable experience, especially with these helpful tips!
-
Use room temperature ingredients: Ensuring that your eggs and butter are at room temperature will lead to a better-emulsified batter, which results in a fluffier cake.
-
Don’t overmix the batter: Mixing just until combined helps maintain the cake’s light texture. Overmixing can lead to a dense cake, which is not what we want for a celebration!
-
Check for doneness: Use the toothpick test by inserting it into the center of the cake; it should come out clean or with a few crumbs attached. This guarantees your cake is baked perfectly.
-
Cool completely before frosting: Allowing the cakes to cool completely prevents the frosting from melting and ensures beautiful layers when serving.
-
Experiment with colors: Adjust the amount of red food coloring to achieve your desired shade of pink. Be bold! A deeper hue can make your cake even more stunning.
How to Serve Mother’s Day Pink Velvet Cake
Presenting your Mother’s Day Pink Velvet Cake in a beautiful way makes it even more special. Here are some serving ideas that will impress everyone at your gathering!
Garnishes
- Fresh berries: Strawberries or raspberries add a burst of color and a refreshing taste that contrasts beautifully with the sweet frosting.
- Mint leaves: A few sprigs of mint on top can give your cake an elegant touch while adding a hint of freshness.
- Edible flowers: Consider garnishing with edible flowers like pansies or violets for an exquisite and picturesque look.
Side Dishes
- Vanilla ice cream: The creamy texture and classic flavor of vanilla ice cream pairs wonderfully with the rich chocolate notes of the cake, creating a delightful contrast.
- Fruit salad: A light and refreshing fruit salad made with seasonal fruits complements the sweetness of the cake, providing a balance that everyone will appreciate.
- Whipped coconut cream: Dairy-free whipped coconut cream adds a luscious topping option that enhances the overall dessert experience without overpowering it.
- Coffee or tea: Serving warm coffee or fragrant herbal tea alongside your cake creates a cozy atmosphere perfect for sweet conversations and memories shared.
With these tips and serving suggestions, you’ll create not just a delicious dessert but also an unforgettable experience for Mother’s Day! Enjoy every bite and moment spent with loved ones.
Make Ahead and Storage
This Mother’s Day Pink Velvet Cake is not only a showstopper but also perfect for meal prep! You can make it ahead of time and store it to enjoy later, making it a stress-free dessert option for any occasion.
Storing Leftovers
- Allow the cake to cool completely before storing.
- Place any leftover cake in an airtight container or wrap it tightly with plastic wrap.
- Store in the refrigerator for up to 5 days.
Freezing
- To freeze the cake, slice it into individual servings.
- Wrap each slice in plastic wrap, then place them in a freezer-safe bag or container.
- The cake maintains its best quality for about 3 months in the freezer.
Reheating
- Thaw frozen slices in the refrigerator overnight before serving.
- For a warm treat, you can reheat individual slices in the microwave for about 10-15 seconds, just until warmed through.
FAQs
Here are some common questions you might have while making this delightful cake.
Can I make the Mother’s Day Pink Velvet Cake without buttermilk?
Absolutely! You can substitute buttermilk with yogurt or a mixture of regular milk and vinegar. Just mix one cup of milk with 1 tablespoon of vinegar and let it sit for a few minutes before using.
How do I achieve the perfect pink hue for my Mother’s Day Pink Velvet Cake?
To get that beautiful pink color, start by adding just a small amount of red food coloring to your batter. Mix well and gradually add more until you reach your desired shade. Remember that baking will slightly lighten the color!
Can I use a different frosting on my Mother’s Day Pink Velvet Cake?
Certainly! While cream cheese frosting pairs beautifully with this cake, you can also use whipped cream or buttercream as alternatives. Get creative with flavors like lemon or almond for a unique twist!
What should I serve with my Mother’s Day Pink Velvet Cake?
This cake is delicious on its own, but fresh fruit like strawberries or raspberries adds a lovely contrast. A scoop of dairy-free ice cream would also be a delightful addition!
How many servings does the Mother’s Day Pink Velvet Cake yield?
This recipe serves approximately 12 slices, making it perfect for sharing with family and friends during special occasions like Mother’s Day!
Final Thoughts
This Mother’s Day Pink Velvet Cake is truly special—it’s not just about the delightful taste but also about creating cherished moments with those we love. I hope you enjoy making this recipe as much as I did! Celebrate the wonderful women in your life by treating them to this scrumptious cake. Happy baking!
Mother’s Day Pink Velvet Cake
If you’re looking to impress your loved ones this Mother’s Day, our Mother’s Day Pink Velvet Cake is the perfect centerpiece for your celebration! This elegant cake combines the delightful flavors of cocoa and vanilla in a stunning pink hue, making it a feast for both the eyes and taste buds. With soft, fluffy layers and a luscious cream cheese frosting, it’s the ideal treat for any occasion—be it birthdays, anniversaries, or simply a sweet indulgence at home. Get ready to create sweet memories as you bake this beautiful cake that everyone will adore!
- Prep Time: 20 minutes
- Cook Time: 30 minutes
- Total Time: 50 minutes
- Yield: Serves approximately 12 slices 1x
- Category: Dessert
- Method: Baking
- Cuisine: American
Ingredients
- 2 ½ cups cake flour
- 1 ¾ cups granulated sugar
- ½ cup unsweetened cocoa powder
- 1 tbsp baking powder
- ½ tsp salt
- ¾ cup unsalted butter, softened
- 4 large eggs (room temperature)
- 1 cup buttermilk
- 2 tsp pure vanilla extract
- Red food coloring (for desired pink hue)
- Cream cheese frosting (for topping)
Instructions
- Preheat your oven to 350°F (175°C) and grease two 9-inch round cake pans.
- In a bowl, whisk together cake flour, cocoa powder, baking powder, and salt.
- In another bowl, cream softened butter and sugar until light and fluffy.
- Beat in eggs one at a time until well incorporated.
- Mix in buttermilk, vanilla extract, and red food coloring until combined.
- Gradually fold in dry ingredients until just smooth; avoid overmixing.
- Divide batter between pans and bake for 25-30 minutes or until a toothpick inserted comes out clean.
- Cool cakes in pans for ten minutes before transferring to wire racks to cool completely.
- Frost with cream cheese frosting once cooled.
Nutrition
- Serving Size: 1 slice (85g)
- Calories: 340
- Sugar: 32g
- Sodium: 210mg
- Fat: 15g
- Saturated Fat: 8g
- Unsaturated Fat: 5g
- Trans Fat: 0g
- Carbohydrates: 49g
- Fiber: 1g
- Protein: 4g
- Cholesterol: 80mg

