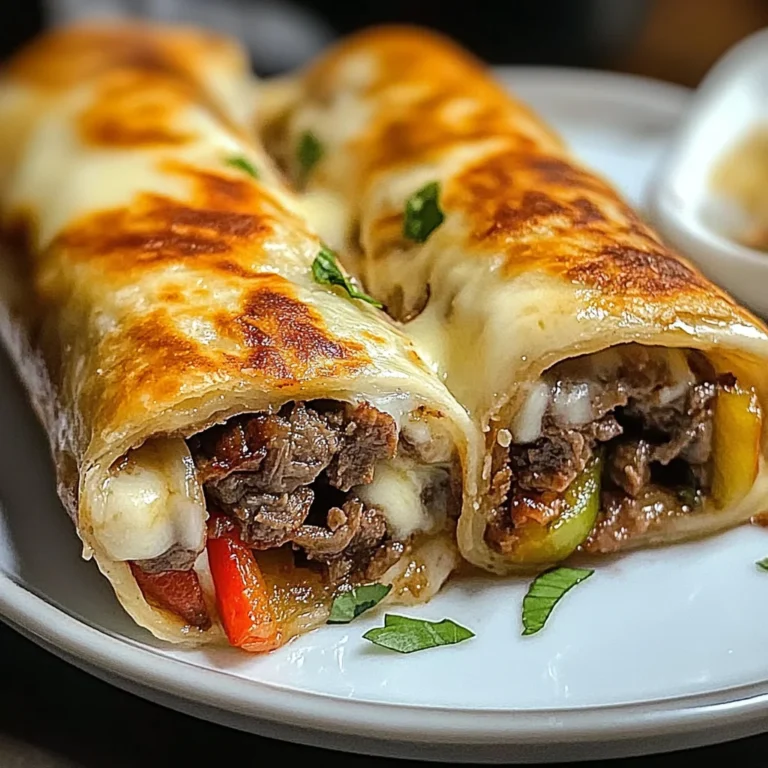
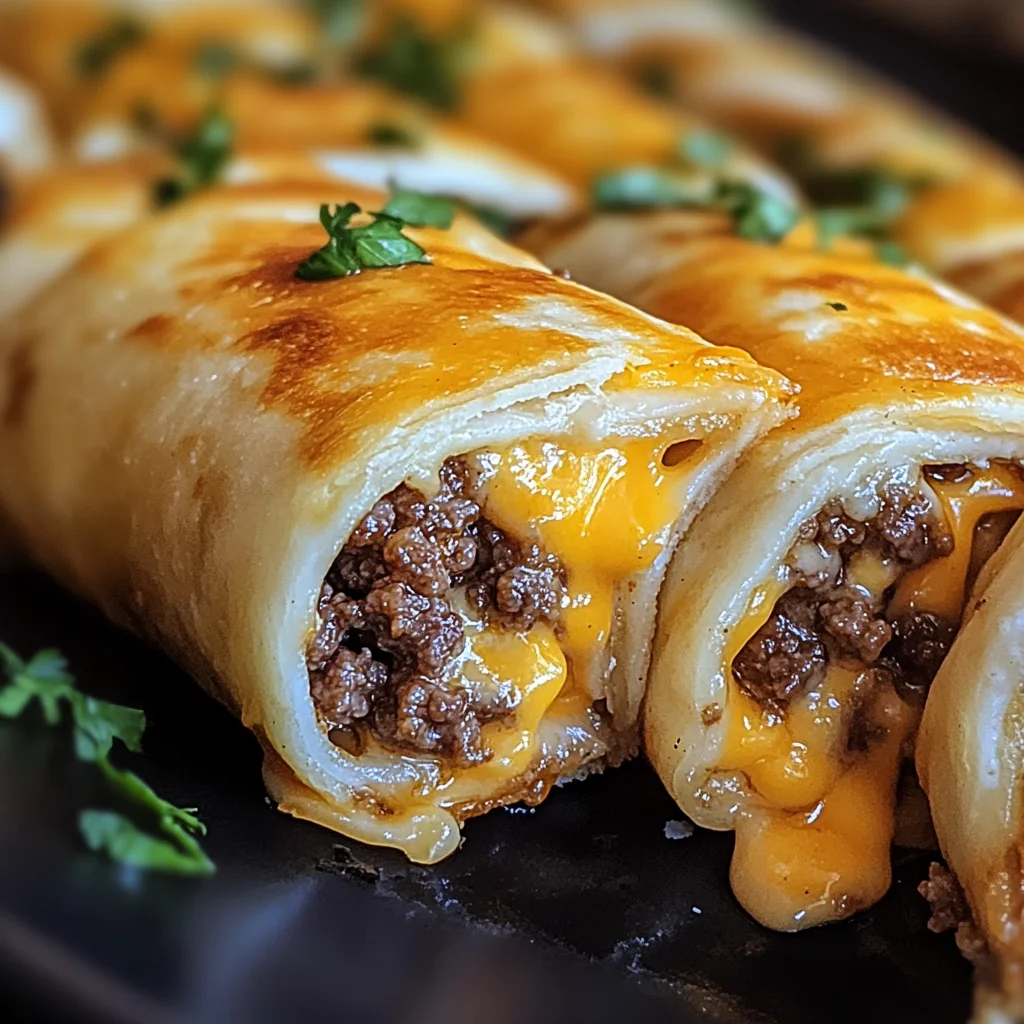
Cheesy Garlic Beef Roll-Ups
If you’re looking for a dish that combines comfort and flavor, you’ve found it with these Cheesy Garlic Beef Roll-Ups. This recipe has become a favorite in my home, perfect for busy weeknights or family gatherings when you want something delicious without spending hours in the kitchen. The moment you pull these golden roll-ups from the oven, the aroma of garlic butter envelops your kitchen, making it impossible to resist!
These roll-ups are not only tasty but also incredibly easy to whip up. They’re great as an appetizer at parties or as a fun main dish for dinner—your family will be asking for seconds!
Why You’ll Love This Recipe
- Simple Preparation: With just a few steps, you can have these savory roll-ups ready to bake.
- Family-Friendly Appeal: Kids and adults alike adore cheesy goodness; it’s a surefire hit!
- Make-Ahead Convenience: Prepare the filling ahead of time and roll them up when you’re ready to bake.
- Flavorful Experience: The combination of seasoned beef and melted cheese creates a comforting bite every time.
- Versatile Options: Customize with your favorite ingredients or dips for added fun!
Ingredients You’ll Need
Gathering simple, wholesome ingredients is part of the joy in cooking these Cheesy Garlic Beef Roll-Ups. You’ll find everything you need right in your pantry or local grocery store!
For the Filling
- 1 lb ground beef
- ½ cup shredded cheddar cheese
- ½ cup shredded mozzarella cheese
- 1 tablespoon olive oil
- 1 tablespoon Worcestershire sauce
- 1 teaspoon onion powder
- 1 teaspoon garlic powder
- ½ teaspoon smoked paprika
- Salt and black pepper, to taste
For Assembly
- 4 large flour tortillas
- ¼ cup butter, melted
- 3 cloves garlic, minced
Optional Garnish
- Sliced pickles for garnish
Variations
One of the best things about these Cheesy Garlic Beef Roll-Ups is their flexibility. You can easily tweak the ingredients based on what you have on hand or your family’s tastes.
- Swap the protein: Use ground turkey or chicken instead of beef for a lighter option.
- Add some veggies: Toss in some chopped bell peppers or spinach to amp up the nutrition.
- Change the cheese: Experiment with different cheese blends like pepper jack for a spicy kick!
- Make it spicy: Add diced jalapeños to the filling if you love heat.
How to Make Cheesy Garlic Beef Roll-Ups
Step 1: Preheat and Prepare
Preheat your oven to 375°F (190°C). This step is crucial because it ensures that your roll-ups bake evenly and get that perfectly golden crust. While you’re at it, line a baking sheet with parchment paper or give it a light grease—this helps prevent sticking.
Step 2: Cook the Beef
In a large skillet over medium-high heat, heat up some olive oil. Add your ground beef and cook until browned, about 7–8 minutes. Remember to break it apart with a spatula as it cooks; this helps achieve an even texture throughout. Once browned, stir in Worcestershire sauce, onion powder, garlic powder, smoked paprika, salt, and pepper. Let this mixture cool slightly before moving on.
Step 3: Mix the Garlic Butter
In a small bowl, combine melted butter with minced garlic. Stir well; this buttery mixture adds rich flavor when brushed over the tortillas before baking. It’s an essential step that brings everything together beautifully.
Step 4: Assemble Your Roll-Ups
Lay your tortillas flat on a clean surface. Evenly distribute the cooled beef mixture over each tortilla and top generously with both cheddar and mozzarella cheeses. Roll each tortilla tightly while tucking in the sides—this secures all that yummy filling inside! Place them seam-side down on your prepared baking sheet and brush generously with the garlic butter.
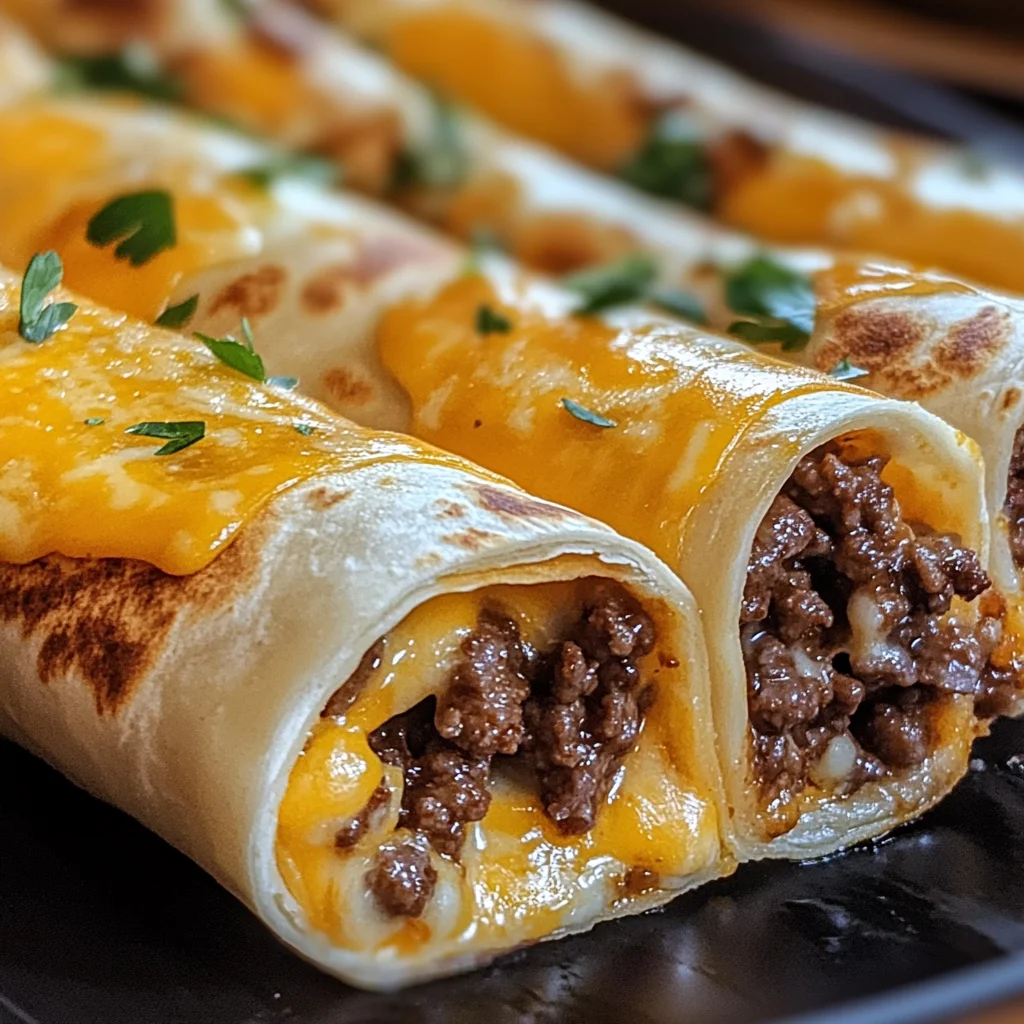
Step 5: Bake Until Golden
Pop those roll-ups into your preheated oven and bake for about 12–15 minutes. Keep an eye on them; they should be golden brown with bubbly cheese peeking out! Once done, let them cool slightly before slicing into pinwheels if you’d like. Garnish with sliced pickles for an extra crunch.
Now all that’s left is to enjoy your delightful Cheesy Garlic Beef Roll-Ups! Perfectly cheesy bites await you—trust me; they won’t last long at any gathering!
Pro Tips for Making Cheesy Garlic Beef Roll-Ups
Making the perfect cheesy garlic beef roll-ups is all about technique and a few handy tips to elevate your dish. Here are some tried-and-true pointers to ensure your roll-ups turn out delicious every time!
-
Use fresh tortillas: Fresh flour tortillas will be more pliable, making it easier to roll them up tightly without tearing. Look for ones that are soft and have a good stretch.
-
Don’t overfill the tortillas: While it’s tempting to add extra filling, too much can make rolling difficult and lead to messy bake-ups. Stick to the recommended amount to keep them tidy!
-
Let the beef mixture cool: Allowing the beef mixture to cool slightly before assembling helps prevent soggy tortillas. A hot filling can steam the tortilla, making it less crisp when baked.
-
Brush with garlic butter generously: The garlic butter not only adds flavor but also creates a crispy, golden crust on the outside of your roll-ups. Don’t skimp on this step for maximum deliciousness!
-
Experiment with cheese blends: While cheddar and mozzarella are a classic combo, feel free to try other cheeses like pepper jack or gouda for a twist! Different cheeses can add unique flavors and textures.
How to Serve Cheesy Garlic Beef Roll-Ups
Presentation can make all the difference when serving these cheesy garlic beef roll-ups! They’re perfect for sharing at gatherings or enjoying for a cozy family meal. Here are some ideas on how to serve them up beautifully.
Garnishes
- Sliced pickles: Adding sliced pickles not only provides a crunchy texture but also a tangy contrast that complements the richness of the roll-ups.
- Chopped parsley or cilantro: Fresh herbs sprinkled on top add color and freshness, enhancing both presentation and flavor.
- Dollop of sour cream or guacamole: Serving with a side of creamy dip elevates each bite, adding creaminess that balances out the savory flavors.
Side Dishes
- Mexican Street Corn Salad: This vibrant salad combines sweet corn, lime juice, cotija cheese (or a dairy-free alternative), and spices for a refreshing complement that pairs beautifully with the roll-ups.
- Guacamole and tortilla chips: Creamy guacamole served alongside crispy tortilla chips is an irresistible pairing that adds crunch and flavor contrast.
- Simple green salad: A light salad with mixed greens, cherry tomatoes, and a vinaigrette dressing offers a refreshing side that balances out the hearty roll-ups.
- Refried beans: Creamy refried beans provide a protein-packed side option that rounds out the meal perfectly while keeping in line with Tex-Mex flavors.
With these serving suggestions and pro tips in mind, your cheesy garlic beef roll-ups are sure to impress whether it’s game day or family dinner night! Enjoy every delightful bite!
Make Ahead and Storage
These Cheesy Garlic Beef Roll-Ups are perfect for meal prep, making them a fantastic choice for busy weeknights or gatherings. You can easily prepare them in advance and store them for later, ensuring you always have a delicious option on hand.
Storing Leftovers
- Allow the roll-ups to cool completely before storing.
- Place them in an airtight container and refrigerate.
- They can be stored in the fridge for up to 3 days.
Freezing
- To freeze, wrap each roll-up tightly in plastic wrap or aluminum foil.
- Place wrapped roll-ups in a freezer-safe bag or container.
- They can be frozen for up to 2 months for best quality.
Reheating
- For the best results, reheat in the oven at 350°F (175°C) for about 10-12 minutes until heated through.
- Alternatively, you can reheat them in the microwave, but this may result in a softer texture.
FAQs
Here are some common questions you might have about making Cheesy Garlic Beef Roll-Ups.
Can I use other types of cheese for Cheesy Garlic Beef Roll-Ups?
Absolutely! Feel free to mix and match your favorite cheeses. Pepper jack adds a nice kick, while cream cheese can make them extra creamy.
How do I ensure my Cheesy Garlic Beef Roll-Ups stay crispy?
To keep your roll-ups crispy, avoid overfilling them with beef and cheese. Also, make sure to brush the outside with garlic butter before baking.
Can I use ground turkey instead of beef for these roll-ups?
Yes! Ground turkey is a great alternative if you’re looking for a leaner option. Just season it well to enhance the flavor.
What sides pair well with Cheesy Garlic Beef Roll-Ups?
These roll-ups go wonderfully with fresh salads, guacamole, or a side of salsa. You can also serve them with crunchy veggies for added freshness!
Final Thoughts
I hope you enjoy making these Cheesy Garlic Beef Roll-Ups as much as I do! They’re comforting, flavorful, and perfect for any occasion—whether you’re hosting friends or just need a quick dinner solution. Don’t hesitate to get creative with your fillings or dips! Happy cooking!
Cheesy Garlic Beef Roll-Ups

Enjoy these easy-to-make Cheesy Garlic Beef Roll-Ups that are savory and satisfying. Try this delightful recipe today!
- Prep Time: 15 minutes
- Cook Time: 15 minutes
- Total Time: 30 minutes
- Yield: Serves 4 (4 roll-ups) 1x
- Category: Main
- Method: Baking
- Cuisine: Tex-Mex
Ingredients
- 1 lb ground beef
- ½ cup shredded cheddar cheese
- ½ cup shredded mozzarella cheese
- 4 large flour tortillas
- ¼ cup butter, melted
- 3 cloves garlic, minced
- 1 tablespoon olive oil
- 1 teaspoon onion powder
- 1 teaspoon garlic powder
- ½ teaspoon smoked paprika
- Salt and black pepper, to taste
Instructions
- Preheat oven to 375°F (190°C) and line a baking sheet with parchment paper.
- In a skillet over medium-high heat, cook ground beef in olive oil until browned; season with onion powder, garlic powder, smoked paprika, salt, and pepper.
- Mix melted butter with minced garlic in a small bowl.
- Lay tortillas flat; evenly distribute beef mixture and top with cheeses before rolling tightly.
- Place seam-side down on the baking sheet and brush with garlic butter. Bake for 12–15 minutes until golden brown.
Nutrition
- Serving Size: 1 serving
- Calories: 320
- Sugar: 1g
- Sodium: 620mg
- Fat: 21g
- Saturated Fat: 10g
- Unsaturated Fat: 9g
- Trans Fat: 0g
- Carbohydrates: 20g
- Fiber: 1g
- Protein: 15g
- Cholesterol: 60mg