Peanut Butter and Jelly Cobbler
If you’re looking for a delightful dessert that combines the nostalgic flavors of childhood with the convenience of modern baking, then you’ll adore this Peanut Butter and Jelly Cobbler! This recipe is special to me because it brings back fond memories of family gatherings and late-night sweet cravings. With just three simple ingredients, it’s perfect for busy weeknights or when you want to impress guests without spending hours in the kitchen.
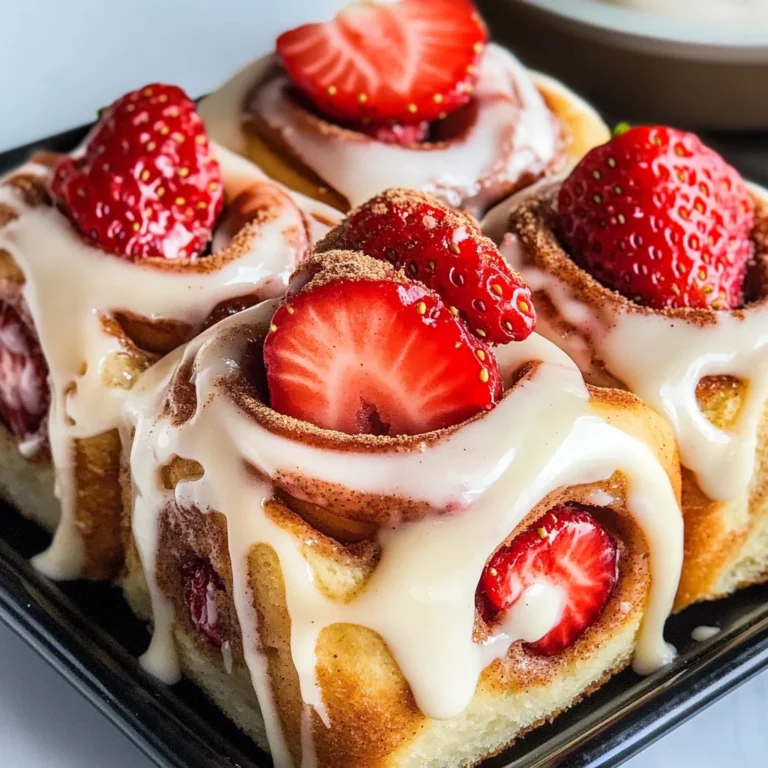
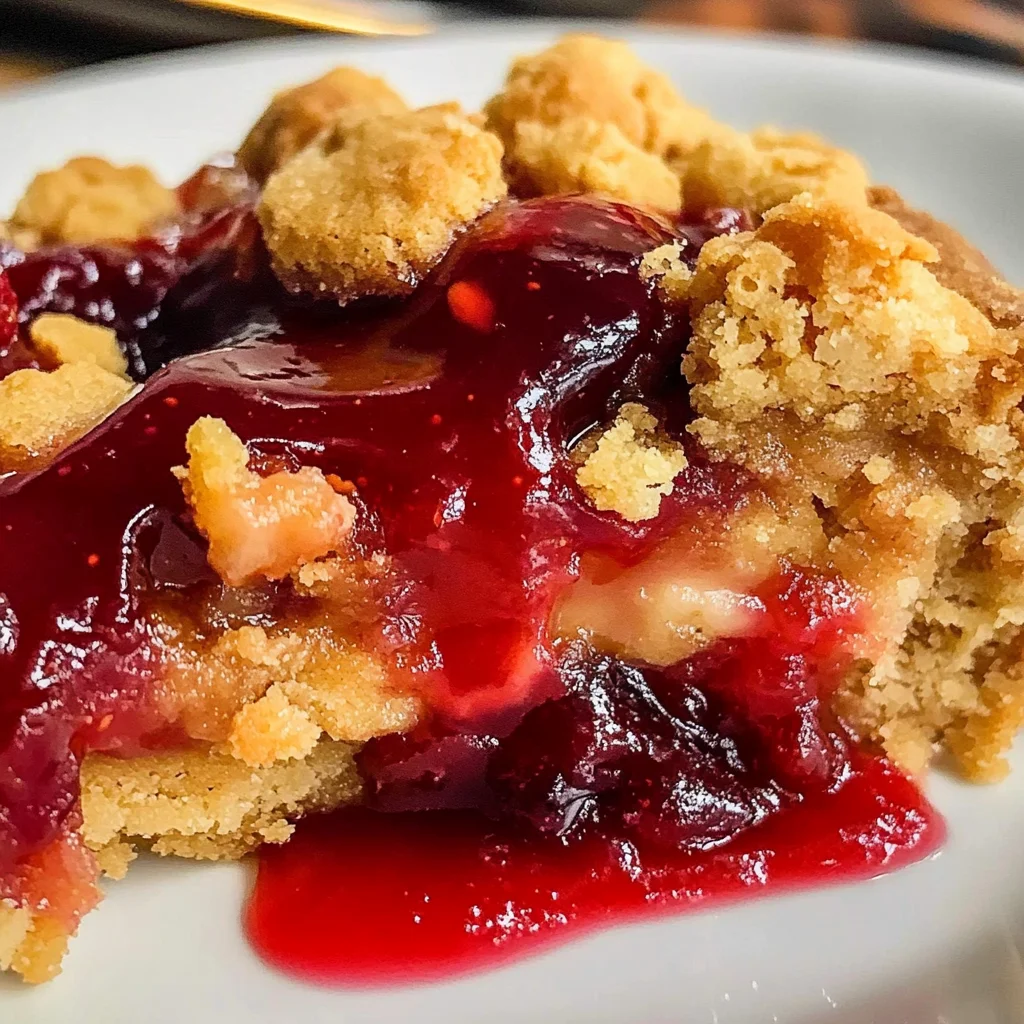
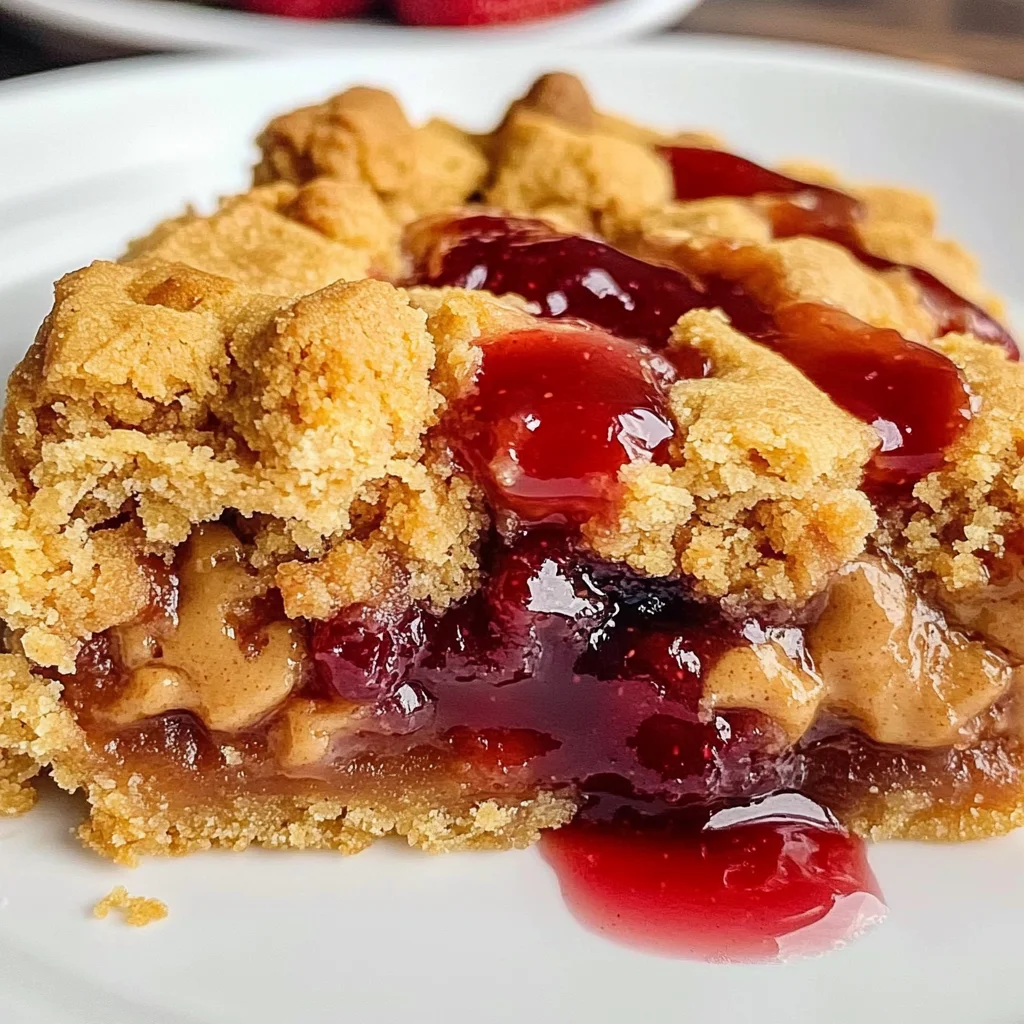
Imagine digging into warm layers of strawberry sweetness topped with a crunchy peanut butter cookie crust! Whether you’re hosting a casual dinner party or just treating yourself after a long day, this cobbler is sure to make everyone smile.
Why You’ll Love This Recipe
- Quick to make: With only three ingredients, you can whip this up in just 8 minutes of prep time!
- Family-friendly: Everyone loves the classic combination of peanut butter and jelly, making it a hit with both kids and adults.
- Flexible servings: It easily serves eight people, making it great for sharing at gatherings or saving for later.
- Deliciously satisfying: The rich peanut butter flavor paired with sweet strawberries creates an irresistible dessert experience.
Ingredients You’ll Need
This Peanut Butter and Jelly Cobbler uses simple, wholesome ingredients that are easy to find. You probably have some of these in your pantry already!
For the Cobbler
- 2 x 21 oz cans of strawberry pie filling
- 17.5 oz package peanut butter cookie mix
- 1/2 cup butter, melted
Variations
One of the best things about this recipe is its flexibility! Feel free to get creative and make it your own with these fun variations:
- Change the fruit: Swap out the strawberry pie filling for blueberry or cherry for a different fruity twist.
- Add chocolate chips: Mix in some dairy-free chocolate chips into the cookie dough for an extra sweet surprise.
- Make it gluten-free: Use a gluten-free peanut butter cookie mix to cater to dietary needs while still enjoying this delicious dessert.
- Top with ice cream: Serve warm slices topped with your favorite dairy-free ice cream for an indulgent treat.
How to Make Peanut Butter and Jelly Cobbler
Step 1: Preheat Your Oven
Start by preheating your oven to 375F. This step is crucial because it ensures that your cobbler bakes evenly and comes out perfectly golden brown.
Step 2: Prepare the Pie Filling
Pour both cans of strawberry pie filling into a 9 x 13 inch baking dish. Spread it out evenly so that every bite will be filled with that sweet strawberry goodness.
Step 3: Mix the Cookie Dough
In a mixing bowl, combine the peanut butter cookie dough mix with the melted butter. Stir until fully combined. This mixture will create that delicious topping we all love on our cobblers!
Step 4: Assemble the Cobbler
Sprinkle small clumps of the cookie dough over the strawberry pie filling. Aim to cover as much surface area as possible; this way, you’ll get that lovely crunchy topping throughout!
Step 5: Bake Away!
Place your baking dish in the preheated oven and bake until the peanut butter cookie topping is nicely browned—about 35 to 40 minutes. The aroma will fill your kitchen, making it hard to wait!
Step 6: Cool Down
Once baked, remove the dish from the oven and allow it to cool slightly. This cooling time helps set everything together so you can serve perfect slices.
Step 7: Serve Warm
Finally, serve your Peanut Butter and Jelly Cobbler while it’s warm! Enjoy each bite as you reminisce about simpler times filled with delicious treats.
Pro Tips for Making Peanut Butter and Jelly Cobbler
Creating a delightful Peanut Butter and Jelly Cobbler is a breeze, but these tips will help you elevate your dessert game even further!
- Use high-quality pie filling: Opting for a premium strawberry pie filling enhances the flavor and gives your cobbler a richer taste. Fresh ingredients make all the difference!
- Mind the butter temperature: Make sure your melted butter is not too hot when mixing with the cookie dough. This helps maintain the right texture for the topping, ensuring it turns out perfectly crumbly.
- Don’t overmix the dough: Stirring just until combined prevents the cookies from becoming tough. A light touch keeps that soft, chewy texture we all love!
- Experiment with flavors: Feel free to swap out strawberry pie filling for other fruit fillings like blueberry or raspberry. Each fruit brings its own unique twist to this classic dessert.
- Serve warm for best results: Enjoying your cobbler while it’s still warm allows for maximum flavor and a cozy experience that everyone will adore.
How to Serve Peanut Butter and Jelly Cobbler
Serving your Peanut Butter and Jelly Cobbler can be just as fun as making it! Here are some creative ideas to present this delicious dessert.
Garnishes
- Whipped Coconut Cream: A dollop of whipped coconut cream adds a creamy texture and light sweetness that complements the rich flavors of peanut butter.
- Chopped Nuts: Sprinkle some chopped peanuts or walnuts on top for added crunch and an extra nutty flavor that pairs wonderfully with peanut butter.
- Fresh Berries: Garnish with fresh strawberries or raspberries for a pop of color and freshness that brightens up each bite.
Side Dishes
- Vanilla Ice Cream: A scoop of vanilla ice cream brings a classic touch to your cobbler, providing a creamy contrast to the warm, fruity filling.
- Fruit Salad: A light fruit salad made with seasonal fruits balances the richness of the cobbler while adding refreshing flavors to the meal.
- Yogurt Parfait: Layering yogurt with granola and fresh berries creates a delightful side dish that can also serve as a breakfast option after enjoying your cobbler!
- Chocolate Chip Cookies: For those who can’t get enough sweetness, serving chocolate chip cookies alongside makes for an indulgent treat that both kids and adults will love.
With these tips and serving suggestions, your Peanut Butter and Jelly Cobbler will surely become a favorite at any gathering! Enjoy every delicious bite!
Make Ahead and Storage
This Peanut Butter and Jelly Cobbler is perfect for meal prep, allowing you to enjoy a delicious dessert without the fuss on busy days. With simple storage solutions, you can savor every bite even after the cobbler has cooled.
Storing Leftovers
- Allow the cobbler to cool completely before storing.
- Cover it with plastic wrap or transfer it to an airtight container.
- Store in the refrigerator for up to 3 days.
Freezing
- Once cooled, cut the cobbler into individual portions.
- Wrap each portion tightly in plastic wrap, then place them in a freezer-safe bag or container.
- Freeze for up to 2 months for best quality.
Reheating
- To reheat from frozen, thaw in the refrigerator overnight.
- Warm individual servings in the microwave for about 30-60 seconds, or until heated through.
- Alternatively, reheat in a preheated oven at 350F for about 10-15 minutes until warm.
FAQs
Here are some frequently asked questions about making Peanut Butter and Jelly Cobbler:
Can I use different pie fillings for my Peanut Butter and Jelly Cobbler?
Absolutely! While strawberry is delightful, feel free to experiment with other fruit pie fillings like blueberry or cherry for a unique twist.
How do I make my Peanut Butter and Jelly Cobbler gluten-free?
You can substitute the peanut butter cookie mix with a gluten-free blend. Just ensure it’s suitable for baking and that all other ingredients are gluten-free as well.
What should I serve with my Peanut Butter and Jelly Cobbler?
A scoop of dairy-free ice cream or a dollop of whipped coconut cream pairs beautifully with this dessert!
How long will my Peanut Butter and Jelly Cobbler last in the fridge?
When stored properly, your cobbler will last up to 3 days in the refrigerator.
Can I prepare this recipe ahead of time?
Yes! You can make it ahead of time and store it in the fridge or even freeze portions for later enjoyment!
Final Thoughts
I hope you find joy in creating this delightful Peanut Butter and Jelly Cobbler. It’s a sweet treat that warms the heart and brings back fond memories. Whether you’re sharing it with family or enjoying a quiet moment alone, this recipe is sure to become a favorite. Enjoy making it, savoring every bite, and don’t hesitate to share your experience!
Peanut Butter and Jelly Cobbler

Indulge in the nostalgic delight of Peanut Butter and Jelly Cobbler, a dessert that combines warm strawberry sweetness with a crunchy peanut butter cookie topping. This quick and easy recipe requires just three simple ingredients, making it perfect for busy weeknights or impressing guests without spending hours in the kitchen. Each bite delivers a satisfying blend of rich peanut butter and fruity goodness, sure to bring smiles all around. Whether you’re sharing it at a gathering or treating yourself after a long day, this cobbler is a comforting classic that everyone will love.
- Prep Time: 8 minutes
- Cook Time: 40 minutes
- Total Time: 48 minutes
- Yield: Serves 8
- Category: Dessert
- Method: Baking
- Cuisine: American
Ingredients
- 2 x 21 oz cans of strawberry pie filling
- 17.5 oz package peanut butter cookie mix
- 1/2 cup butter, melted
Instructions
- Preheat your oven to 375F.
- In a 9 x 13 inch baking dish, pour and spread both cans of strawberry pie filling evenly.
- In a mixing bowl, combine the peanut butter cookie dough mix with melted butter until fully blended.
- Sprinkle small clumps of the cookie dough over the strawberry filling to cover as much surface area as possible.
- Bake in the preheated oven for about 35 to 40 minutes until the topping is golden brown.
- Allow to cool slightly before serving warm.
Nutrition
- Serving Size: 1/8 cobbler (approx. 130g)
- Calories: 320
- Sugar: 28g
- Sodium: 230mg
- Fat: 18g
- Saturated Fat: 7g
- Unsaturated Fat: 10g
- Trans Fat: 0g
- Carbohydrates: 36g
- Fiber: 2g
- Protein: 4g
- Cholesterol: 30mg