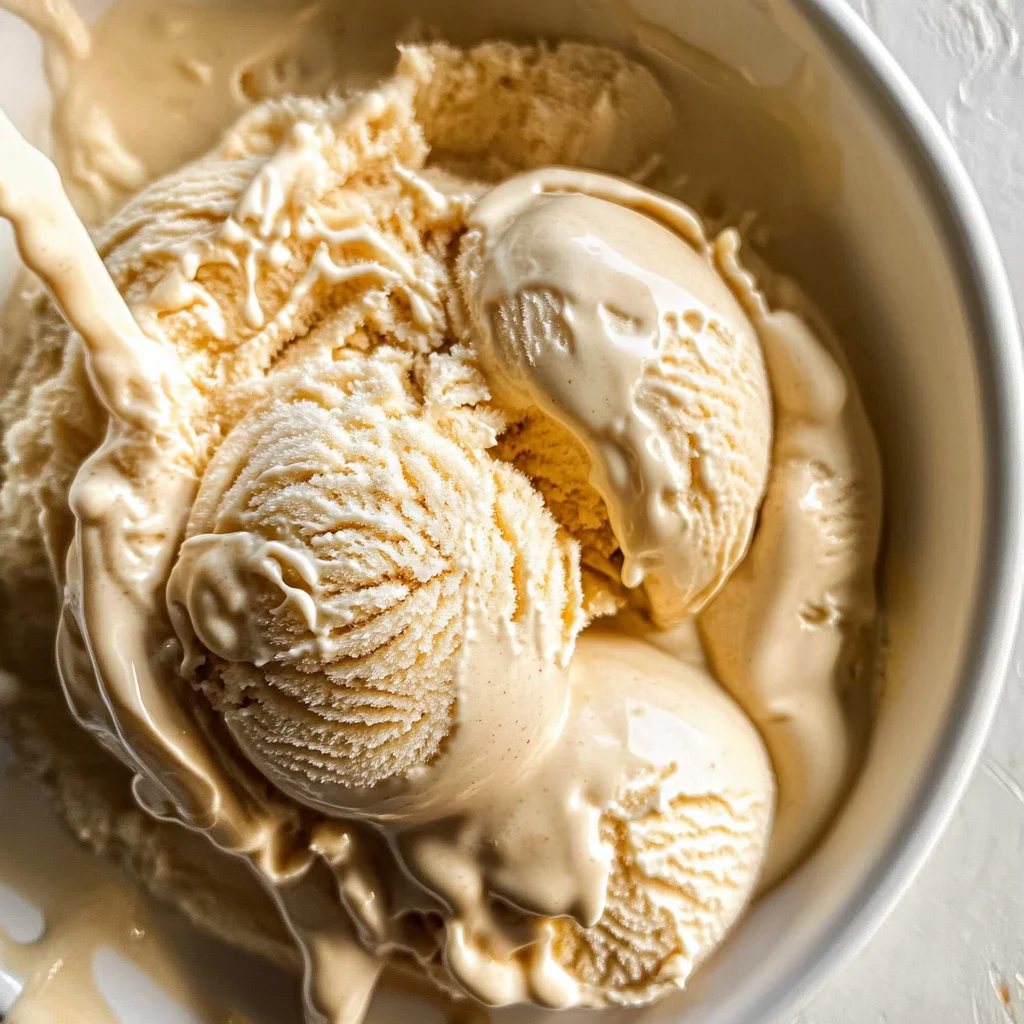
Homemade Maple Ice Cream
If you’re looking for a delightful treat that brings a smile to everyone’s face, then you’ve landed in the right place! Homemade Maple Ice Cream is not just any dessert; it’s a creamy scoop of happiness that whispers sweet notes of maple with each bite. This recipe has been a favorite in my family for years, and it holds a special spot in our hearts (and our freezers!).
Whether it’s a busy weeknight or a festive family gathering, this homemade ice cream is perfect for any occasion. The rich flavors and smooth texture make it an ideal companion for pie, cake, or even just enjoyed on its own. Trust me, once you try this recipe, you’ll be dreaming of it long after the last scoop is gone!
Why You’ll Love This Recipe
- Easy to Prepare: With just a few simple steps, you’ll have a delicious batch of ice cream ready to enjoy.
- Family-Friendly: Kids and adults alike will adore the sweet taste of maple; it’s sure to please everyone at the table!
- Make-Ahead Convenience: This ice cream can be made in advance, so you can focus on enjoying your time with loved ones.
- Versatile Flavor: The light maple flavor pairs beautifully with various desserts like apple crisp or brownies.
Ingredients You’ll Need
Making Homemade Maple Ice Cream is all about using simple, wholesome ingredients that are easy to find. These ingredients come together to create that luscious texture and irresistible flavor. Here’s what you’ll need:
For the Base
- 6 egg yolks
- 3/4 cup maple syrup (Grade B)
- 1 tsp arrowroot (or tapioca starch, or cornstarch)
- 1/4 tsp sea salt
- 1 1/2 cups half and half
- 1 1/2 cups heavy cream
- 1 tsp vanilla extract
Variations
One of the best things about ice cream is how flexible it can be! Feel free to experiment with different flavors and mix-ins. Here are some fun ideas for variations:
- Add Crunch: Stir in your favorite nuts or chocolate chips during the last few minutes of churning for added texture.
- Swap the Sweetener: Try using agave syrup or honey instead of maple syrup for a different flavor profile.
- Infuse Some Flavor: Add spices like cinnamon or nutmeg to the base before cooking for a warm twist on traditional maple flavor.
- Mix in Fruit: Puree your favorite berries and swirl them into the finished ice cream for a fruity finish.
How to Make Homemade Maple Ice Cream
Step 1: Whisk Together Ingredients
Start by whisking together the egg yolks, maple syrup, arrowroot, and sea salt. This step is crucial as it combines everything smoothly and prepares your base. It also helps ensure that your ice cream has that perfect creamy consistency.
Step 2: Cook the Mixture
Next, whisk in the half and half. Place this mixture over medium-high heat, stirring constantly until it starts to thicken. Be careful not to let it boil! This gentle cooking helps develop the flavors while thickening your custard base.
Step 3: Add Cream and Vanilla
Once thickened, take it off the heat immediately! Stir in the heavy cream and vanilla extract. This step adds richness and depth to your ice cream while balancing out the sweetness from the maple syrup.
Step 4: Strain and Chill
Pour your custard through a strainer into a bowl to catch any bits that may have formed. Chilling it in the refrigerator for at least four hours allows those flavors to meld beautifully.
Step 5: Freeze It Up!
Finally, pour your chilled mixture into an ice cream machine and freeze according to manufacturer instructions. You’ll know it’s ready when it stands up on a spoon! Then transfer it to an airtight container and freeze for another 4-6 hours until it’s fully firm.
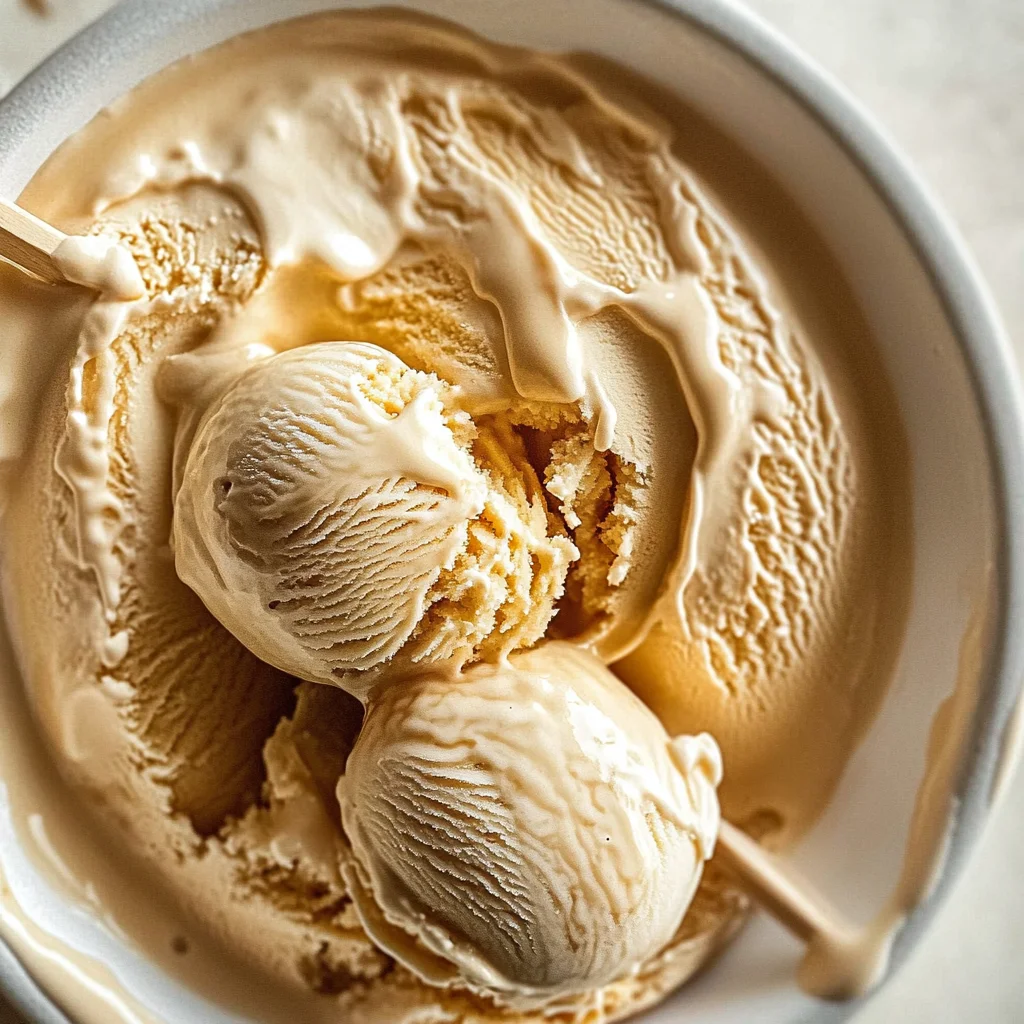
And there you have it—your very own Homemade Maple Ice Cream! Enjoy scooping this delightful treat into bowls or cones, sharing smiles with family and friends as everyone savors every creamy bite!
Pro Tips for Making Homemade Maple Ice Cream
Making your own ice cream can be so rewarding, and with a few expert tips, you’ll ensure that your Homemade Maple Ice Cream turns out perfectly creamy every time!
-
Use high-quality maple syrup – The flavor of your ice cream relies heavily on the syrup you choose. Opting for Grade B maple syrup gives a richer taste that enhances the overall experience.
-
Whisk continuously while cooking – This helps prevent the mixture from scorching on the bottom. Constant whisking ensures a smooth custard base, which is crucial for that silky texture we all love.
-
Cool the mixture completely before churning – Chilling your custard in the refrigerator for at least 4 hours (or even overnight) allows the flavors to meld and improves the texture when churned.
-
Don’t skip the straining step – Straining the mixture removes any curdled bits or lumps, resulting in a smoother final product. It’s a small step that makes a big difference!
-
Store in an airtight container – To maintain freshness and prevent freezer burn, transfer your ice cream to an airtight container after it has fully frozen. This will keep it deliciously creamy for longer.
How to Serve Homemade Maple Ice Cream
Now that you’ve made this delectable Homemade Maple Ice Cream, it’s time to think about how to serve it up! Whether you’re hosting a dinner party or enjoying a quiet night at home, presentation can really elevate your dessert experience.
Garnishes
-
Chopped pecans or walnuts – These add a delightful crunch and complement the maple flavor beautifully.
-
Drizzle of extra maple syrup – A little more syrup on top enhances sweetness and adds visual flair.
Side Dishes
-
Apple Crisp – The warm, spiced apples paired with cold maple ice cream create a heavenly contrast that is simply irresistible.
-
Brownies – Rich and fudgy brownies are perfect companions for maple ice cream; their deep chocolate flavor pairs wonderfully with sweet maple.
-
Fresh Berries – Strawberries, blueberries, or raspberries provide a refreshing tartness that balances out the rich creaminess of the ice cream.
With these serving ideas and pro tips under your belt, you’re all set to enjoy your Homemade Maple Ice Cream in style! Happy scooping!
Make Ahead and Storage
This Homemade Maple Ice Cream is perfect for meal prep! You can whip up a batch ahead of time and enjoy it whenever you crave something sweet. Here’s how to store it properly to maintain that creamy, delicious texture.
Storing Leftovers
- After freezing the ice cream, keep it in an airtight container to prevent freezer burn.
- Store it in the coldest part of your freezer for optimal freshness.
- For best flavor and texture, consume within two weeks.
Freezing
- If you want to prepare this ice cream in advance, make sure it’s fully chilled before placing it in your ice cream machine.
- Follow the manufacturer’s instructions for freezing times.
- Once done, transfer to a sturdy container and freeze for an additional 4-6 hours for perfect scooping.
Reheating
- To soften the ice cream before serving, let it sit at room temperature for about 10–15 minutes.
- If you need a quicker solution, microwave on low power in 10-second increments until desired softness is reached.
FAQs
Here are some common questions about making Homemade Maple Ice Cream.
Can I use different types of syrup besides maple?
While maple syrup gives this ice cream its unique flavor, you could experiment with other flavored syrups. However, the end result will differ from traditional homemade maple ice cream!
What if I don’t have an ice cream maker?
No worries! You can still make homemade maple ice cream by pouring the mixture into a shallow dish and freezing it. Stir every 30 minutes until fully frozen to create a creamy texture.
How long does homemade maple ice cream last?
Homemade maple ice cream can last up to two weeks in the freezer if stored properly in an airtight container.
What makes this homemade maple ice cream so creamy?
The combination of heavy cream and half-and-half creates that rich, creamy texture that makes this dessert so irresistible!
Can I reduce the sugar in this recipe?
You can reduce the amount of maple syrup slightly; however, keep in mind that it may impact both flavor and texture. The balance is key to achieving that perfect homemade maple ice cream!
Final Thoughts
I hope you’re as excited to try this Homemade Maple Ice Cream as I am! It’s such a delightful treat that’s not only easy to make but also incredibly satisfying. Perfect for summer days or cozy nights alike, this recipe brings joy with every scoop. Enjoy making your own batch and feel free to share your experiences or any tweaks you made—I can’t wait to hear how it turns out for you!
Homemade Maple Ice Cream
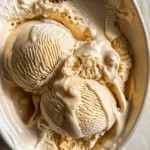
Indulge in the creamy delight of Homemade Maple Ice Cream, a dessert that promises to bring joy to your taste buds. This recipe combines rich flavors of maple syrup with a silky smooth texture, making it the perfect treat for any occasion. Whether you’re celebrating a family gathering or enjoying a quiet night in, each scoop is guaranteed to be an experience worth savoring. With easy-to-follow steps and simple ingredients, this homemade ice cream is sure to become a beloved favorite in your household.
- Prep Time: 15 minutes
- Cook Time: 15 minutes
- Total Time: 30 minutes
- Yield: Approximately 6 servings 1x
- Category: Dessert
- Method: Churning
- Cuisine: American
Ingredients
- 6 egg yolks
- 3/4 cup maple syrup (Grade B)
- 1 tsp arrowroot (or tapioca starch, or cornstarch)
- 1/4 tsp sea salt
- 1 1/2 cups half and half
- 1 1/2 cups heavy cream
- 1 tsp vanilla extract
Instructions
- In a bowl, whisk together the egg yolks, maple syrup, arrowroot, and sea salt until smooth.
- Gradually whisk in the half and half. Cook the mixture over medium-high heat, stirring constantly until it thickens—do not let it boil.
- Remove from heat and stir in heavy cream and vanilla extract.
- Strain the mixture into a bowl to eliminate lumps and chill in the refrigerator for at least four hours.
- Pour into an ice cream maker and churn according to manufacturer instructions. Transfer to an airtight container and freeze for an additional 4-6 hours before serving.
Nutrition
- Serving Size: 1/2 cup (110g)
- Calories: 320
- Sugar: 30g
- Sodium: 70mg
- Fat: 22g
- Saturated Fat: 14g
- Unsaturated Fat: 8g
- Trans Fat: 0g
- Carbohydrates: 30g
- Fiber: 0g
- Protein: 4g
- Cholesterol: 186mg